First, you need an AWS account. We’ll skip this step.
Then, we need to create a host.
Login and choose EC2 (Elastic Cloud Compute).

Click ‘Create a New Instance’.
1. Select Ubuntu 20.04 LTS(x86). You can choose other Linux system according to your preference.
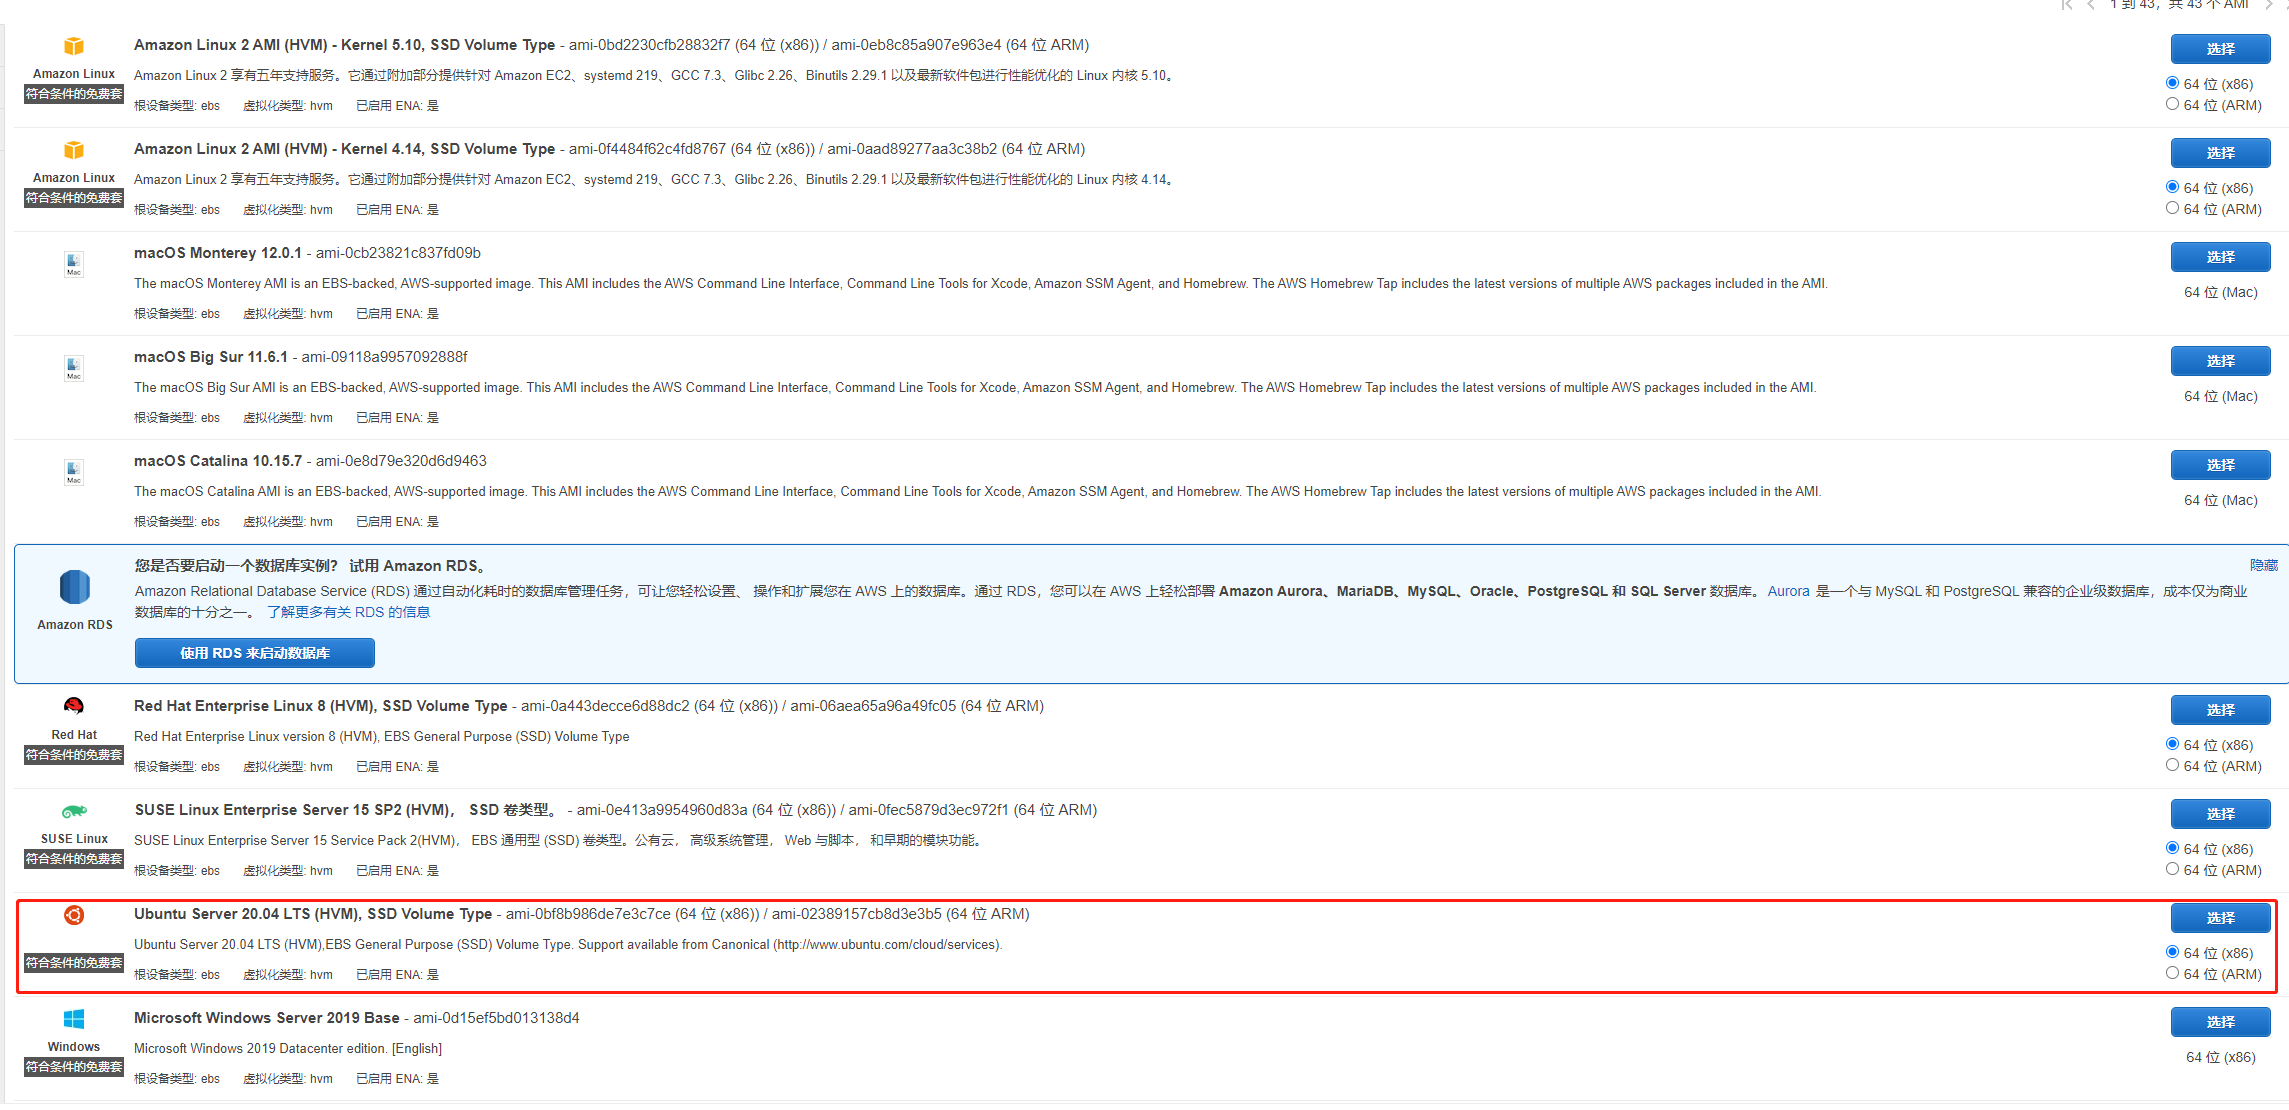
2. Choose t2.micro, which you can have a free-trial for the first 12 month.
3. Use default configuration.
4. Add storage. We only need a root volume. The default size is 8 GiB. You can use 30 GiB for free at max. Choose ‘General Purpose SSD’.
5. Add label. Just add labels as you like.
6. Configuring a Security Group. Add HTTP, HTTPS, and MySQL port mappings.

7. Review
Now we can see our host in instance list. We need use SSH to operate server.
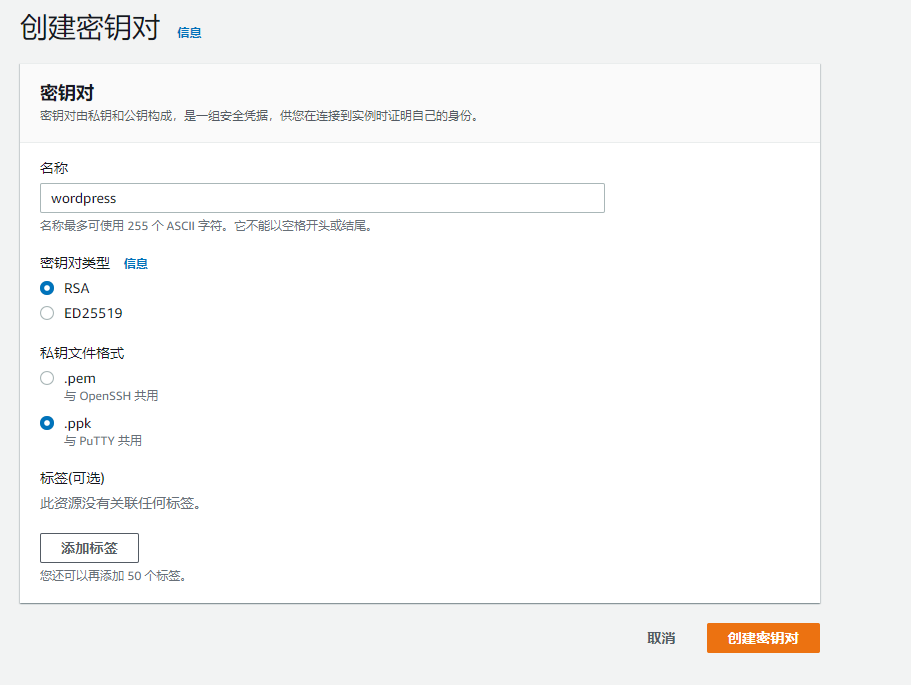
First, we need to generate a key-pair. EC2 -> Network and Security -> Key Pair.
Create key pair. Choose RSA and .ppk. Download the ppk file.
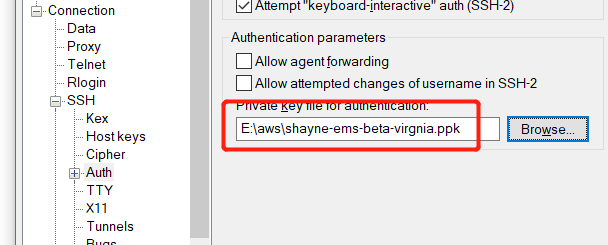
Now we can use a SSH Client to connet our server. I choose PuTTY. Download and open PuTTY. Enter your instance’s IP address in host name bar.
Connection -> SSH -> Auth. Click Browse, select the ppk file you downloaded. Click open.
1. Login
If you are not using Unbuntu, enter your system instead.
login as: ubuntu 2. Switch to root account
sudo su
apt-get update
3. Install Apache
apt-get install apache2 After installation, access the public IP address of the EC2 instance in your browser and the default Apache page will appear.
4. Install PHP
apt-get install php 5. Install database
WordPress uses MySQL as its database. We have two ways to provide a database to wordpress.
Method 1: Install MySQL on your own host
(1) Install MySQL
apt-get install mysql-server (2) Create wordpress database
mysql -u root

CREATE DATABASE wordpress

EXIT
Method 2: Use AWS RDS
All services -> Database -> RDS
Create a new one.
Engine: MySQL.
VPC security group: the security group you create when set up EC2 host.
Then use any mysql client(such as, MySQL Workbench) to connect to the RDS you created. Create a schema ‘wordpress’.
6. Enable PHP to support MySQL
apt-get install php-mysql 7. Restart Apache
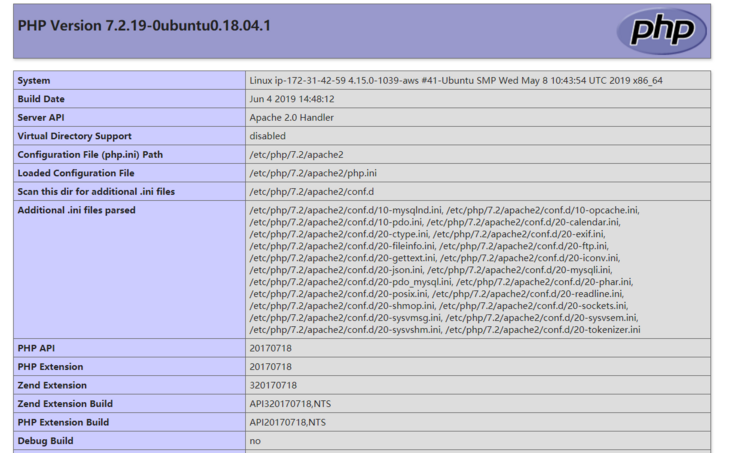
service apache2 restart 8. Test PHP
vi /var/www/html/info.php

<?php
phpinfo();
?>
Visit (ip)/info.php, you can see the php info page like this
9. Download wordpress
wget http://wordpress.org/latest.zip
apt-get install unzip
unzip latest.zip
10. Edit config file
cd wordpress
mv wp-config-sample.php wp-config.php
vim wp-config.php
Edit ‘wp-config.php’ according to your detail. Save and exit.
11. Move wordpress files to default website root directory
cp -rv /home/ubuntu/wordpress/* /var/www/html/
rm /var/www/html/index.thml
chown -R www-data:www-data /var/www/
systemctl restart apache2
12. Visit (ip)/wp-admin/install.php to finish the set up.
Now, enjoy your website!
0 Comments